
이 페이지와 원하는 AI 어시스턴트를 사용하여 문서를 요약합니다
버전 기록
- "Solid useIntlayer API 사용을 직접 속성 액세스로 업데이트"v8.9.02026. 5. 4.
- "안정화 버전 출시"v8.0.02026. 1. 26.
- "init 명령어 추가"v8.0.02025. 12. 30.
- "초기 기록"v5.5.102025. 6. 29.
이 페이지의 콘텐츠는 AI를 사용하여 번역되었습니다.
영어 원본 내용의 최신 버전을 보기If you have an idea for improving this documentation, please feel free to contribute by submitting a pull request on GitHub.
GitHub link to the documentationCopy doc Markdown to clipboard
Intlayer를 사용하여 Angular 21(Vite) 웹사이트 번역하기 | 국제화(i18n)
목차
대안보다 Intlayer를 선택해야 하는 이유는 무엇입니까?
'ngx-translate' 또는 'angular-l10n'과 같은 주요 솔루션과 비교할 때 Intlayer는 다음과 같은 통합 최적화가 제공되는 솔루션입니다.
Intlayer는 구성 요소 수준 콘텐츠 범위 지정, 지연 로드 번역 및 국제화 확장(i18n)에 필요한 모든 기능을 제공하여 Angular와 완벽하게 작동하도록 최적화되었습니다.
대용량 JSON 파일을 페이지에 로드하는 대신 필요한 콘텐츠만 로드하세요. Intlayer는 번들 및 페이지 크기를 최대 50% 줄이는 데 도움이 됩니다.
애플리케이션 콘텐츠의 범위를 지정하면 대규모 애플리케이션의 유지 관리가 용이해집니다. 전체 콘텐츠 코드베이스를 검토해야 하는 정신적 부담 없이 단일 기능 폴더를 복제하거나 삭제할 수 있습니다. 또한 Intlayer는 완전히 유형되어 콘텐츠의 정확성을 보장합니다.
콘텐츠를 같은 위치에 배치하면 LLM(대형 언어 모델)에 필요한 컨텍스트가 줄어듭니다. Intlayer에는 누락된 번역을 테스트하기 위한 CLI, LSP, MCP 및 agent)와 같은 도구 모음도 함께 제공됩니다. 기술, AI 에이전트를 위한 개발자 경험(DX)을 더욱 원활하게 만듭니다.
AI 공급자의 비용으로 선택한 LLM을 사용하여 CI/CD 파이프라인을 번역하려면 자동화를 사용하세요. Intlayer는 또한 콘텐츠 추출을 자동화하는 컴파일러와 백그라운드에서 번역을 돕는 웹 플랫폼을 제공합니다.
대규모 JSON 파일을 구성 요소에 연결하면 성능 및 반응성 문제가 발생할 수 있습니다. Intlayer는 빌드 시 콘텐츠 로딩을 최적화합니다.
Angular 애플리케이션에 Intlayer를 설정하는 단계별 가이드
GitHub에서 애플리케이션 템플릿을 확인하세요.
종속성 설치
npm을 사용하여 필요한 패키지를 설치합니다:
bash코드 복사코드를 클립보드에 복사
npx intlayer init --interactive--interactive플래그는 선택 사항입니다. AI 에이전트인 경우intlayer-cli init를 사용하세요.이 명령은 환경을 감지하고 필요한 패키지를 설치합니다. 예를 들어:
bash코드 복사코드를 클립보드에 복사
npm install intlayer angular-intlayernpm install @angular-builders/custom-esbuild --save-dev프로젝트 구성
애플리케이션의 언어를 구성하기 위해 구성 파일을 만듭니다:
intlayer.config.ts코드 복사코드를 클립보드에 복사
import { Locales, type IntlayerConfig } from "intlayer";

const config: IntlayerConfig = {
  internationalization: {
    locales: [
      Locales.ENGLISH,
      Locales.FRENCH,
      Locales.SPANISH,
      // 기타 언어
    ],
    defaultLocale: Locales.ENGLISH,
  },
};

export default config;
이 구성 파일을 통해 로컬라이즈된 URL, 미들웨어 리디렉션, 쿠키 이름, 콘텐츠 선언의 위치 및 확장자를 설정하고 콘솔에서 Intlayer 로그를 비활성화할 수 있습니다. 사용 가능한 매개변수의 전체 목록은 구성 문서를 참조하세요.
Angular 구성에 Intlayer 통합
Intlayer를 Angular CLI와 통합하려면 사용자 지정 빌더를 사용해야 합니다. 이 가이드에서는 Vite/esbuild(Angular 21 프로젝트의 기본값)를 사용한다고 가정합니다.
먼저 사용자 지정 esbuild 빌더를 사용하도록
angular.json을 수정합니다.build및serve구성을 업데이트합니다:angular.json코드 복사코드를 클립보드에 복사
{ "projects": { "your-app-name": { "architect": { "build": { "builder": "@angular-builders/custom-esbuild:application", // replace "@angular/build:application" "options": { "define": { "process.env": "{}", }, "plugins": ["./esbuild.plugins.ts"], "browser": "src/main.ts", // ... }, }, "serve": { "builder": "@angular-builders/custom-esbuild:dev-server", // replace "@angular/build:dev-server" "options": { "prebundle": { "exclude": [ "intlayer", "angular-intlayer", "@intlayer/config/built", "@intlayer/core" ] }, }, }, }, },}angular.json에서your-app-name을 프로젝트의 실제 이름으로 바꾸는 것을 잊지 마세요.다음으로 프로젝트 루트에
esbuild.plugins.ts파일을 만듭니다:esbuild.plugins.ts코드 복사코드를 클립보드에 복사
import { intlayerEsbuildPlugin } from "angular-intlayer/esbuild";export default [intlayerEsbuildPlugin()];intlayerEsbuildPlugin함수는 esbuild를 Intlayer로 구성합니다. 콘텐츠 선언 파일을 처리하는 플러그인을 주입하고 최적의 성능을 위한 구성을 설정합니다.NX 사용자: NX의 Angular 빌더는 Node의 네이티브 ESM 해상도를 통해 플러그인 파일을 로드하며 TypeScript 플러그인 파일을 즉석에서 컴파일하지 않습니다. 대신
.mjs파일을 사용하고 이에 따라angular.json에서plugins참조를 업데이트하십시오:esbuild.plugins.mjs코드 복사코드를 클립보드에 복사
import { intlayerEsbuildPlugin } from "angular-intlayer/esbuild";export default [intlayerEsbuildPlugin()];그런 다음
angular.json에서"./esbuild.plugins.ts"대신"./esbuild.plugins.mjs"를 가리킵니다.콘텐츠 선언
번역을 저장하기 위해 콘텐츠 선언을 만들고 관리합니다:
콘텐츠 선언은
contentDir디렉터리(기본값은./src)에 포함되어 있는 한 애플리케이션의 아무 곳에나 정의할 수 있습니다. 그리고 콘텐츠 선언 파일 확장자(기본값은.content.{json,ts,tsx,js,jsx,mjs,cjs,md,mdx,yaml,yml})와 일치해야 합니다.자세한 내용은 콘텐츠 선언 문서를 참조하세요.
코드에서 Intlayer 활용
전체 Angular 애플리케이션에서 Intlayer의 국제화 기능을 활용하려면 애플리케이션 구성에 Intlayer를 제공해야 합니다.
src/app/app.config.ts코드 복사코드를 클립보드에 복사
import { ApplicationConfig } from "@angular/core";import { provideRouter } from "@angular/router";import { provideIntlayer } from "angular-intlayer";import { routes } from "./app.routes";export const appConfig: ApplicationConfig = { providers: [ provideRouter(routes), provideIntlayer(), // 여기에 Intlayer 공급자를 추가합니다 ],};그런 다음 임의의 컴포넌트 내에서
useIntlayer기능을 사용할 수 있습니다.src/app/app.component.ts코드 복사코드를 클립보드에 복사
import { Component } from "@angular/core";import { RouterOutlet } from "@angular/router";import { useIntlayer } from "angular-intlayer";@Component({ selector: "app-root", standalone: true, imports: [RouterOutlet], templateUrl: "./app.component.html", styleUrl: "./app.component.css",})export class AppComponent { content = useIntlayer("app");}템플릿에서:
src/app/app.component.html코드 복사코드를 클립보드에 복사
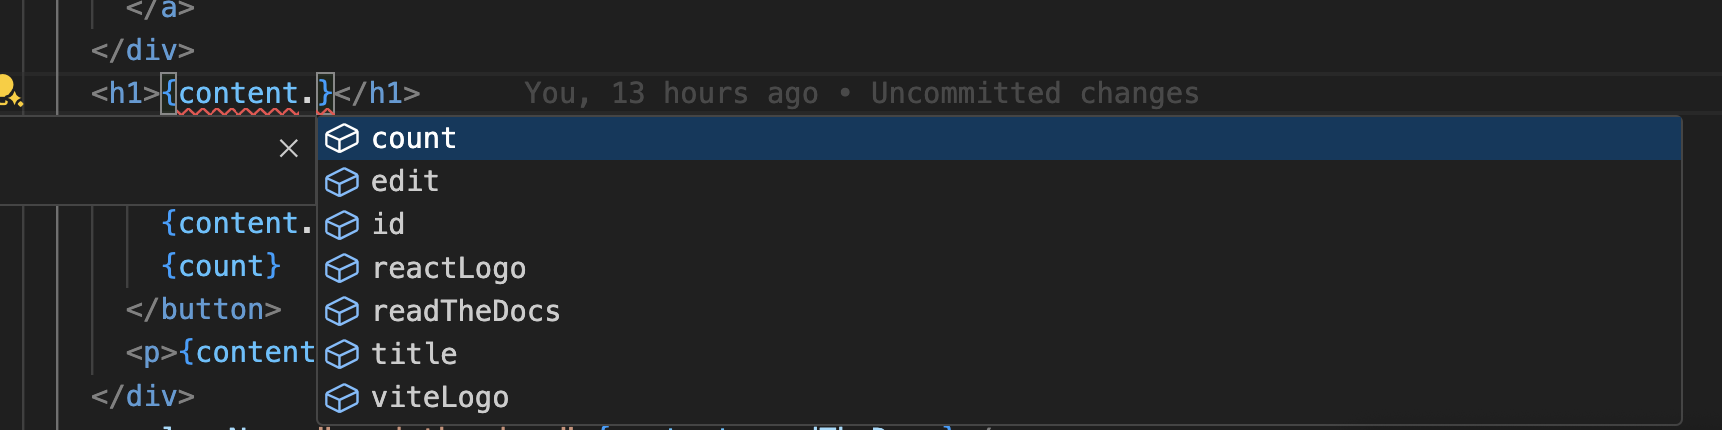
<div class="content"> <h1>{{ content().title }}</h1> <p>{{ content().congratulations }}</p></div>Intlayer 콘텐츠는
Signal로 반환되므로 신호를 호출하여 값에 액세스합니다:content().title.콘텐츠 언어 변경
선택사항콘텐츠 언어를 변경하려면
useLocale함수에서 제공하는setLocale함수를 사용할 수 있습니다. 이를 통해 애플리케이션의 로캘을 설정하고 이에 따라 콘텐츠를 업데이트할 수 있습니다.언어를 전환하는 컴포넌트를 만듭니다:
src/app/locale-switcher.component.ts코드 복사코드를 클립보드에 복사
import { Component } from "@angular/core";import { CommonModule } from "@angular/common";import { useLocale } from "angular-intlayer";@Component({ selector: "app-locale-switcher", standalone: true, imports: [CommonModule], template: ` <div class="locale-switcher"> <select [value]="locale()" (change)="setLocale($any($event.target).value)" > @for (loc of availableLocales; track loc) { <option [value]="loc">{{ loc }}</option> } </select> </div> `,})export class LocaleSwitcherComponent { localeCtx = useLocale(); locale = this.localeCtx.locale; availableLocales = this.localeCtx.availableLocales; setLocale = this.localeCtx.setLocale;}그런 다음 이 컴포넌트를
app.component.ts에서 사용합니다:src/app/app.component.ts코드 복사코드를 클립보드에 복사
import { Component } from "@angular/core";import { RouterOutlet } from "@angular/router";import { useIntlayer } from "angular-intlayer";import { LocaleSwitcherComponent } from "./locale-switcher.component";@Component({ selector: "app-root", standalone: true, imports: [RouterOutlet, LocaleSwitcherComponent], templateUrl: "./app.component.html", styleUrl: "./app.component.css",})export class AppComponent { content = useIntlayer("app");}
TypeScript 구성
Intlayer는 모듈 증강(Module Augmentation)을 사용하여 TypeScript의 이점을 얻고 코드베이스를 더 강력하게 만듭니다.
TypeScript 구성에 자동 생성된 유형이 포함되어 있는지 확인하십시오.
코드를 클립보드에 복사
{ // ... 기존 TypeScript 구성 "include": [ // ... 기존 TypeScript 구성 ".intlayer/**/*.ts", // 자동 생성된 유형 포함 ],}Git 구성
Intlayer에서 생성된 파일을 무시하는 것이 좋습니다. 이렇게 하면 Git 리포지토리에 커밋되는 것을 피할 수 있습니다.
이를 위해 .gitignore 파일에 다음 지침을 추가할 수 있습니다:
코드를 클립보드에 복사
# Intlayer에 의해 생성된 파일 무시.intlayerVS Code 확장
Intlayer를 통한 개발 경험을 개선하기 위해 공식 Intlayer VS Code Extension을 설치할 수 있습니다.
이 확장은 다음을 제공합니다:
- 번역 키를 위한 자동 완성.
- 누락된 번역에 대한 실시간 오류 감지.
- 번역된 콘텐츠의 인라인 미리보기.
- 번역을 쉽게 만들고 업데이트할 수 있는 빠른 작업.
확장을 사용하는 방법에 대한 자세한 내용은 Intlayer VS Code 확장 문서를 참조하세요.
더 나아가기
더 나아가려면 시각적 편집기를 구현하거나 CMS를 사용하여 콘텐츠를 외부화할 수 있습니다.