
Ask your question and get a summary of the document by referencing this page and the AI provider of your choice
Version History
- "Update Solid useIntlayer API usage to direct property access"v8.9.004/05/2026
- "Initial history"v8.0.426/01/2026
The content of this page was translated using an AI.
See the last version of the original content in EnglishIf you have an idea for improving this documentation, please feel free to contribute by submitting a pull request on GitHub.
GitHub link to the documentationCopy doc Markdown to clipboard
Translate your Analog (Angular) app using Intlayer
Table of Contents
Why Intlayer over alternatives?
Compared to main solutions like ngx-translate or angular-l10n, Intlayer is a solution that comes with integrated optimizations such as:
Intlayer is optimized to work perfectly with Analog by offering multilingual routing, SSR support, and all the features needed for scaling internationalization (i18n).
Instead of loading massive JSON files into your pages, load only the necessary content. Intlayer helps reduce your bundle and page sizes by up to 50%.
Scoping your application's content facilitates maintenance for large-scale applications. You can duplicate or delete a single feature folder without the mental burden of reviewing your entire content codebase. Additionally, Intlayer is fully typed to ensure your content's accuracy.
Co-locating content reduces the context needed by Large Language Models (LLMs). Intlayer also comes with a suite of tools, such as a CLI to test for missing translations,LSP, MCP, and agent skills, to make the developer experience (DX) even smoother for AI agents.
Use automation to translate in your CI/CD pipeline using the LLM of your choice at the cost of your AI provider. Intlayer also offers a compiler to automate content extraction, as well as a web platform to help translate in the background.
Connecting massive JSON files to components can lead to performance and reactivity issues. Intlayer optimizes your content loading at build time.
More than just an i18n solution, Intlayer provides an self-hosted visual editor and a full CMS to help you manage your multilingual content in real-time, making collaboration with translators, copywriters, and other team members seamless. Content can be stored locally and/or remotely.
Step-by-Step Guide to Set Up Intlayer in an Analog Application
See Application Template on GitHub.
Install Dependencies
Install the necessary packages using npm:
bashCopy codeCopy the code to the clipboard
the
--interactiveflag is optional. Useintlayer-cli initif you're an AI agent.This command will detect your environment and install the required packages. For example:
bashCopy codeCopy the code to the clipboard
intlayer
The core package that provides internationalisation tools for configuration management, translation, content declaration, transpilation, and CLI commands.
angular-intlayer The package that integrates Intlayer with Angular application. It provides context providers and hooks for Angular internationalisation.
vite-intlayer The package that integrates Intlayer with Vite. It provides a plugin to handle content declaration files and sets up aliases for optimal performance.
Configuration of your project
Architecture
In this architecture,
angular-intlayerprovidesprovideIntlayer(), registered insrc/app/app.config.tsso that every component and file-based page can read its content through theuseIntlayersignal. Analog builds on Vite, so theintlayer()plugin ofvite-intlayeris added next toanalog()invite.config.tsto watch and rebuild your content declarations and to run the locale proxy. Content declarations are placed alongside components and pages insrc/app/.bashCopy codeCopy the code to the clipboard
Configuration
Create a config file to configure the languages of your application:
intlayer.config.tsCopy codeCopy the code to the clipboard
import { Locales, type IntlayerConfig } from "intlayer";

const config: IntlayerConfig = {
  internationalisation: {
    locales: [
      Locales.ENGLISH,
      Locales.FRENCH,
      Locales.SPANISH,
      // Your other locales
    ],
    defaultLocale: Locales.ENGLISH,
  },
};

export default config;
Through this configuration file, you can set up localised URLs, middleware redirection, cookie names, the location and extension of your content declarations, disable Intlayer logs in the console, and more. For a complete list of available parameters, refer to the configuration documentation.
Integrate Intlayer in Your Vite Configuration
To integrate Intlayer with Analog, you need to use the
vite-intlayerplugin.Modify your
vite.config.tsfile:vite.config.tsCopy codeCopy the code to the clipboard
The
intlayer()plugin configures Vite with Intlayer. It handles content declaration files and sets up aliases for optimal performance.Declare Your Content
Create and manage your content declarations to store translations:
src/app/app.content.tsCopy codeCopy the code to the clipboard
import { t, type Dictionary } from "intlayer";

const appContent = {
  key: "app",
  content: {
    title: t({
      en: "Hello",
      fr: "Bonjour",
      es: "Hola",
    }),
    congratulations: t({
      en: "Congratulations! Your app is running. 🎉",
      fr: "Félicitations! Votre application est en cours d'exécution. 🎉",
      es: "¡Felicidades! Tu aplicación está en ejecución. 🎉",
    }),
  },
} satisfies Dictionary;

export default appContent;
Your content declarations can be defined anywhere in your application as soon they are included into the
contentDirdirectory (by default,./src). And match the content declaration file extension (by default,.content.{json,ts,tsx,js,jsx,mjs,cjs,md,mdx,yaml,yml}).For more details, refer to the content declaration documentation.
Utilise Intlayer in Your Code
To utilise Intlayer's internationalisation features throughout your Analog application, you need to provide Intlayer in your application configuration.
src/app/app.config.tsCopy codeCopy the code to the clipboard
Then, you can use the
useIntlayerfunction within any component.src/app/pages/index.page.tsCopy codeCopy the code to the clipboard
Intlayer content is returned as a
Signal, so you access the values by calling the signal:content().title.Change the language of your content
OptionalTo change the language of your content, you can use the
setLocalefunction provided by theuseLocalefunction. This allows you to set the locale of the application and update the content accordingly.Create a component to switch between languages:
src/app/locale-switcher.component.tsCopy codeCopy the code to the clipboard
Then, use this component in your pages:
src/app/pages/index.page.tsCopy codeCopy the code to the clipboard
Configure TypeScript
Intlayer uses module augmentation to get benefits of TypeScript and make your codebase stronger.

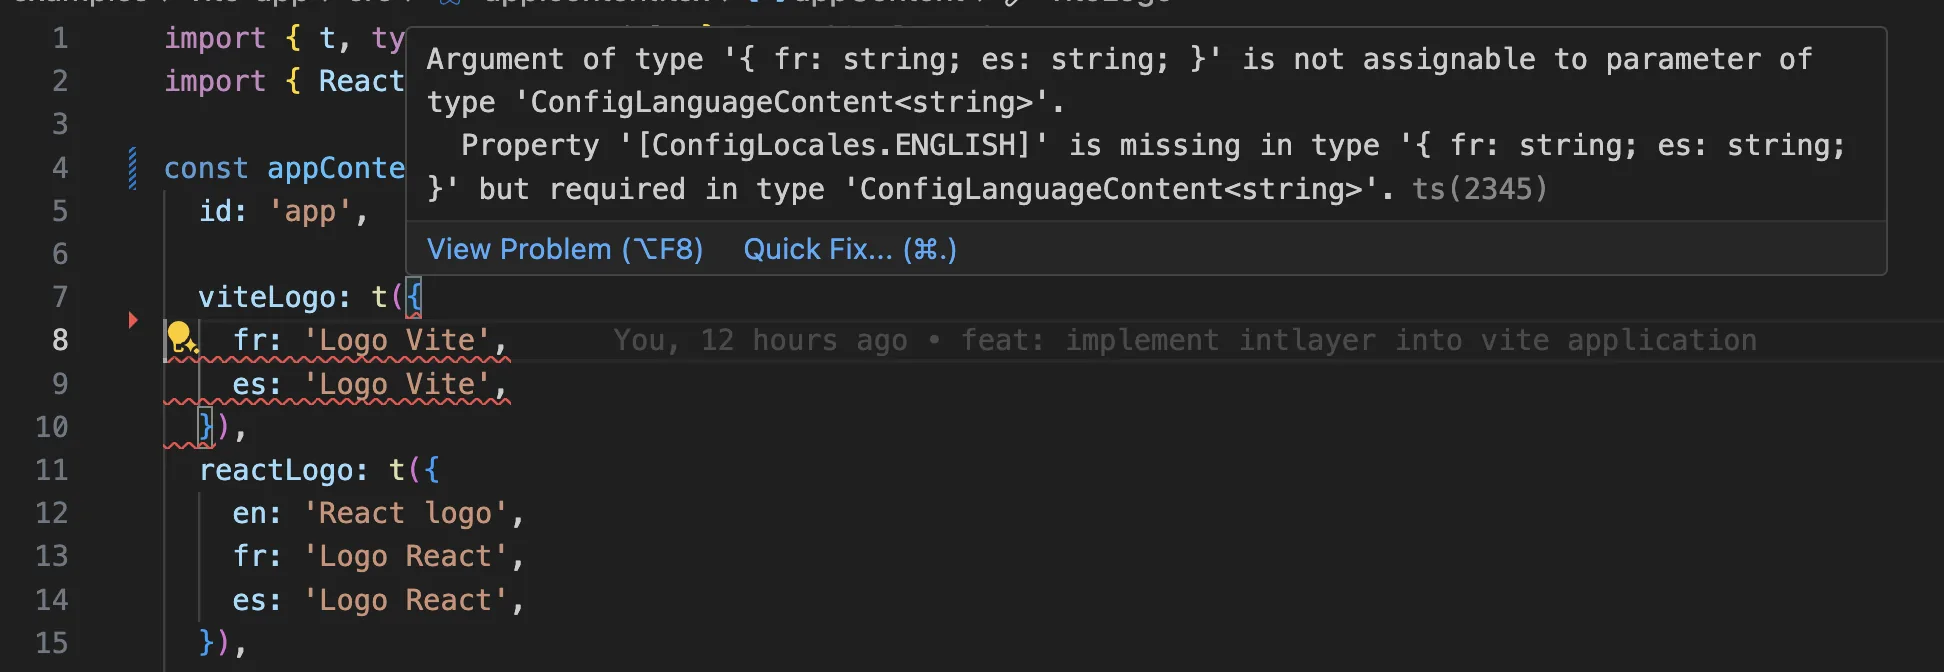
Ensure your TypeScript configuration includes the autogenerated types.
Copy the code to the clipboard
Git Configuration
It is recommended to ignore the files generated by Intlayer. This allows you to avoid committing them to your Git repository.
To do this, you can add the following instructions to your .gitignore file:
Copy the code to the clipboard
VS Code Extension
To improve your development experience with Intlayer, you can install the official Intlayer VS Code Extension.
This extension provides:
- Autocompletion for translation keys.
- Real-time error detection for missing translations.
- Inline previews of translated content.
- Quick actions to easily create and update translations.
For more details on how to use the extension, refer to the Intlayer VS Code Extension documentation.
Go Further
To go further, you can implement the visual editor or externalise your content using the CMS.
Frequently Asked Questions
Analog is an Angular meta framework built on Vite, so it inherits the Angular options and adds the Vite ones:
@angular/localize: XLIFF extraction with one compiled build per locale, which fits poorly with a file based router and server rendering.ngx-translateandTransloco: runtime JSON catalogues through a service, with no integration with Analog's routing or server side rendering.Intlayer: the most advanced solution. Content declared anywhere in your codebase (next to each component or centralized) and compiled by the Vite plugin at build time, fully typed, with runtime locale switching, AI translation, a visual editor and a CMS.
See why Intlayer and the Angular guide for the Angular specific APIs.
Much less than a namespace based setup, because a page never downloads a catalogue it does not render. Server rendered markup resolves its content on the server, and the build time compiler replaces useIntlayer calls with the exact dictionary entries a component uses, so unused keys and unused languages are dropped, and dynamic dictionaries split the rest per locale. Measured against the usual alternatives, Intlayer reduces bundle and page size by up to 50%. See bundle optimization and the benchmark.
Largely. Follow the ngx-translate migration guide or the Transloco migration guide to move the content over. You can also migrate gradually: the sync JSON plugin keeps your existing JSON catalogues as the source of truth and generates Intlayer dictionaries from them, so both layers stay in sync while you move templates across one at a time.
Yes. The sync JSON plugin keeps your /messages/{locale}/{namespace}.json files as the source of truth and generates Intlayer dictionaries from them, in both directions. A sync PO plugin does the same for gettext catalogues, and per locale files let you split content by language instead of grouping locales in one file.
No. Run npx intlayer extract and Intlayer reads your source files, pulls the user facing strings out and writes a .content file next to each one, so you review a diff instead of copying strings into a catalogue one at a time. See the extract command.
For a fully automated pipeline, the Intlayer Compiler does the same at build time on JSX, TSX, Vue and Svelte source, generating the dictionaries on every change so there are no keys to maintain by hand. It works by static analysis, so strings that only exist at runtime stay out of reach, and it needs a few annotations to tell user facing text apart from application logic.
Five pieces, all optional:
- VS Code extension: jump from a
useIntlayerkey to the content file that declares it, extract content from a component, and run build, fill, test, push and pull from the command palette or a dedicated Intlayer tab. - LSP server: the same awareness in any editor that speaks LSP, with go to definition, find all references, hover previews of a translated value, autocompletion of keys and fields, and a warning when a key is not declared anywhere. It also resolves
i18next,react-i18next,next-intlanduse-intlcalls, which helps while you migrate. - MCP server: exposes the Intlayer documentation and CLI to Cursor, VS Code, Claude Desktop, Claude Code and ChatGPT, so an assistant answers from current docs instead of guessing, and can run commands such as
intlayer fillitself. - Agent skills: focused skills such as
intlayer-config,intlayer-cliandintlayer-content, plus one per framework, that teach an agent your routing setup and the content node types. - ESLint plugin:
no-raw-textflags hardcoded strings, with further rules for static dictionary keys and unused content.