
このページとあなたの好きなAIアシスタントを使ってドキュメントを要約します
バージョン履歴
- "Solid の useIntlayer API の使用法を直接プロパティアクセスに更新"v8.9.02026/5/4
- "initコマンドを追加"v7.5.92025/12/30
- "履歴初期化"v5.5.102025/6/29
このページのコンテンツはAIを使用して翻訳されました。
英語の元のコンテンツの最新バージョンを見るIf you have an idea for improving this documentation, please feel free to contribute by submitting a pull request on GitHub.
GitHub link to the documentationCopy doc Markdown to clipboard
IntlayerでCreate React Appを翻訳する | 国際化(i18n)
アプリケーションテンプレートをGitHubで見る。
Intlayerとは?
Intlayerは、モダンなWebアプリケーションにおける多言語対応を簡素化するために設計された革新的なオープンソースの国際化(i18n)ライブラリです。
Intlayerを使用すると、以下が可能です:
- コンポーネントレベルで宣言的な辞書を使用して翻訳を簡単に管理。
- メタデータ、ルート、コンテンツを動的にローカライズ。
- 自動生成された型でTypeScriptサポートを確保し、オートコンプリートやエラー検出を向上。
- 動的なロケール検出や切り替えなどの高度な機能を活用。
ReactアプリケーションでのIntlayerセットアップ手順
依存関係をインストール
npmを使用して必要なパッケージをインストールします:
bashコードをコピーコードをクリップボードにコピー
npx intlayer init --interactive--interactiveフラグはオプションです。AI エージェントの場合はintlayer-cli initを使用してください。このコマンドは環境を検出し、必要なパッケージをインストールします。例えば:
bashコードをコピーコードをクリップボードにコピー
npm install intlayer react-intlayer react-scripts-intlayerintlayer
react-intlayer
ReactアプリケーションとIntlayerを統合するためのパッケージ。Reactの国際化のためのコンテキストプロバイダーとフックを提供。
react-scripts-intlayer
Create React AppベースのアプリケーションにIntlayerを統合するための
react-scripts-intlayerコマンドとプラグインを含みます。これらのプラグインはcracoに基づいており、Webpackバンドラーの追加設定を含みます。プロジェクトの設定
アプリケーションの言語を設定するための設定ファイルを作成します:
intlayer.config.tsコードをコピーコードをクリップボードにコピー
import { Locales, type IntlayerConfig } from "intlayer"; const config: IntlayerConfig = { internationalization: { locales: [ Locales.ENGLISH, Locales.FRENCH, Locales.SPANISH, // 他のロケール ], defaultLocale: Locales.ENGLISH, }, }; export default config;この設定ファイルを通じて、ローカライズされたURL、ミドルウェアリダイレクション、クッキー名、コンテンツ宣言の場所と拡張子、コンソールでのIntlayerログの無効化などを設定できます。利用可能なパラメータの完全なリストについては、設定ドキュメントを参照してください。
CRA設定へのIntlayerの統合
スクリプトをreact-intlayerを使用するように変更します:
package.jsonコードをコピーコードをクリップボードにコピー
"scripts": { "build": "react-scripts-intlayer build", "start": "react-scripts-intlayer start", "transpile": "intlayer build" },react-scripts-intlayerスクリプトはCRACOに基づいています。Intlayer cracoプラグインに基づいて独自のセットアップを実装することもできます。こちらの例を参照。コンテンツの宣言
翻訳を保存するためのコンテンツ宣言を作成および管理します:
src/app.content.tsxコードをコピーコードをクリップボードにコピー
import { t, type Dictionary } from "intlayer";
import React, { type ReactNode } from "react";

const appContent = {
  key: "app",
  content: {
    getStarted: t<ReactNode>({
      en: (
        <>
          Edit <code>src/App.tsx</code> and save to reload
        </>
      ),
      fr: (
        <>
          Éditez <code>src/App.tsx</code> et enregistrez pour recharger
        </>
      ),
      es: (
        <>
          Edita <code>src/App.tsx</code> y guarda para recargar
        </>
      ),
    }),
    reactLink: {
      href: "https://reactjs.org",
      content: t({
        ja: "Reactを学ぶ",
        en: "Learn React",
        fr: "Apprendre React",
        es: "Aprender React",
      }),
    },
  },
} satisfies Dictionary;

export default appContent;
コンテンツ宣言は、
contentDirディレクトリ(デフォルトでは./src)に含まれる限り、アプリケーション内のどこにでも定義できます。また、コンテンツ宣言ファイルの拡張子(デフォルトでは.content.{json,ts,tsx,js,jsx,mjs,cjs,md,mdx,yaml,yml})に一致する必要があります。詳細については、コンテンツ宣言ドキュメントを参照してください。
コンテンツファイルにTSXコードが含まれている場合は、
import React from "react";をコンテンツファイルにインポートすることを検討してください。コード内でIntlayerを利用
アプリケーション全体でコンテンツ辞書にアクセスします:
src/App.tsxコードをコピーコードをクリップボードにコピー
import logo from "./logo.svg";
import "./App.css";
import type { FC } from "react";
import { IntlayerProvider, useIntlayer } from "react-intlayer";

const AppContent: FC = () => {
  const content = useIntlayer("app");

  return (
    <div className="App">
      <img src={logo} className="App-logo" alt="logo" />

      {content.getStarted}
      <a
        className="App-link"
        href={content.reactLink.href.value}
        target="_blank"
        rel="noopener noreferrer"
      >
        {content.reactLink.content}
      </a>
    </div>
  );
};

const App: FC = () => (
  <IntlayerProvider>
    <AppContent />
  </IntlayerProvider>
);

export default App;
注意:
alt、title、href、aria-labelなどのstring属性でコンテンツを使用したい場合は、関数の値を使用できます。例:htmlコードをコピーコードをクリップボードにコピー
<img src="{content.image.src.value}" alt="{content.image.value}" /><img src="{content.image.src.toString()}" alt="{content.image.toString()}" /><img src="{String(content.image.src)}" alt="{String(content.image)}" />useIntlayerフックの詳細については、ドキュメントを参照してください。コンテンツの言語を変更する
オプションコンテンツの言語を変更するには、
useLocaleフックが提供するsetLocale関数を使用します。この関数を使うことで、アプリケーションのロケールを設定し、それに応じてコンテンツを更新できます。src/components/LocaleSwitcher.tsxコードをコピーコードをクリップボードにコピー
import { Locales } from "intlayer"; import { useLocale } from "react-intlayer"; const LocaleSwitcher = () => { const { setLocale } = useLocale(); return ( <button onClick={() => setLocale(Locales.English)}> Change Language to English </button> ); };useLocaleフックの詳細については、ドキュメントを参照してください。アプリケーションにローカライズされたルーティングを追加
オプションこのステップの目的は、各言語にユニークなルートを作成することです。これはSEOやSEOフレンドリーなURLに役立ちます。 例:
plaintextコードをコピーコードをクリップボードにコピー
- https://example.com/about- https://example.com/es/about- https://example.com/fr/aboutデフォルトでは、デフォルトロケールにはルートがプレフィックスされません。デフォルトロケールをプレフィックスしたい場合は、設定で
middleware.prefixDefaultオプションをtrueに設定できます。詳細については、設定ドキュメントを参照してください。アプリケーションにローカライズされたルーティングを追加するには、アプリケーションのルートをラップし、ロケールベースのルーティングを処理する
LocaleRouterコンポーネントを作成します。以下はReact Routerを使用した例です:src/components/LocaleRouter.tsxコードをコピーコードをクリップボードにコピー
// 必要な依存関係と関数をインポート// 必要な依存関係と関数をインポートimport { type Locales, configuration, getPathWithoutLocale } from "intlayer"; // 'intlayer'からのユーティリティ関数と型import type { FC, PropsWithChildren } from "react"; // Reactの型import { IntlayerProvider } from "react-intlayer"; // 国際化コンテキスト用プロバイダーimport { BrowserRouter, Routes, Route, Navigate, useLocation,} from "react-router-dom"; // ナビゲーション管理用のルーターコンポーネント// Intlayerからの設定を分解const { internationalization, middleware } = configuration;const { locales, defaultLocale } = internationalization;/** * ローカライズを処理し、適切なロケールコンテキストで子要素をラップするコンポーネント。 * URLベースのロケール検出と検証を管理します。 */const AppLocalized: FC<PropsWithChildren<{ locale: Locales }>> = ({ children, locale,}) => { const { pathname, search } = useLocation(); // 現在のURLパスを取得 // 現在のロケールを決定し、指定されていない場合はデフォルトにフォールバック const currentLocale = locale ?? defaultLocale; // パスからロケールプレフィックスを削除してベースパスを構築 const pathWithoutLocale = getPathWithoutLocale( pathname // 現在のURLパス ); /** * middleware.prefixDefaultがtrueの場合、デフォルトロケールは常にプレフィックスされるべきです。 */ if (middleware.prefixDefault) { // ロケールを検証 if (!locale || !locales.includes(locale)) { // 更新されたパスでデフォルトロケールにリダイレクト return ( <Navigate to={`/${defaultLocale}/${pathWithoutLocale}${search}`} replace // 現在の履歴エントリを新しいものに置き換え /> ); } // 子要素をIntlayerProviderでラップし、現在のロケールを設定 return ( <IntlayerProvider locale={currentLocale}>{children}</IntlayerProvider> ); } else { /** * middleware.prefixDefaultがfalseの場合、デフォルトロケールはプレフィックスされない。 * 現在のロケールが有効であり、デフォルトロケールでないことを確認。 */ if ( currentLocale.toString() !== defaultLocale.toString() && !locales .filter( (locale) => locale.toString() !== defaultLocale.toString() // デフォルトロケールを除外 ) .includes(currentLocale) // 現在のロケールが有効なロケールリストに含まれているか確認 ) { // ロケールプレフィックスなしのパスにリダイレクト return <Navigate to={`${pathWithoutLocale}${search}`} replace />; } // 子要素をIntlayerProviderでラップし、現在のロケールを設定 return ( <IntlayerProvider locale={currentLocale}>{children}</IntlayerProvider> ); }};/** * ロケール固有のルートを設定するルーターコンポーネント。 * React Routerを使用してナビゲーションを管理し、ローカライズされたコンポーネントをレンダリング。 */export const LocaleRouter: FC<PropsWithChildren> = ({ children }) => ( <BrowserRouter> <Routes> {locales .filter( (locale) => middleware.prefixDefault || locale !== defaultLocale ) .map((locale) => ( <Route // ロケールをキャプチャするルートパターン(例:/en/、/fr/)とその後のすべてのパスを一致 path={`/${locale}/*`} key={locale} element={<AppLocalized locale={locale}>{children}</AppLocalized>} // ロケール管理で子要素をラップ /> ))} { // デフォルトロケールのプレフィックスが無効な場合、ルートパスで直接子要素をレンダリング !middleware.prefixDefault && ( <Route path="*" element={ <AppLocalized locale={defaultLocale}>{children}</AppLocalized> } // ロケール管理で子要素をラップ /> ) } </Routes> </BrowserRouter>);その後、アプリケーションで
LocaleRouterコンポーネントを使用できます:src/App.tsxコードをコピーコードをクリップボードにコピー
import { LocaleRouter } from "./components/LocaleRouter"; import type { FC } from "react"; // ... AppContentコンポーネント const App: FC = () => ( <LocaleRouter> <AppContent /> </LocaleRouter> );ロケール変更時にURLを変更
オプションロケール変更時にURLを変更するには、
useLocaleフックが提供するonLocaleChangeプロップを使用できます。同時に、react-router-domのuseLocationとuseNavigateフックを使用してURLパスを更新できます。src/components/LocaleSwitcher.tsxコードをコピーコードをクリップボードにコピー
import { useLocation, useNavigate } from "react-router-dom";
import {
  Locales,
  getHTMLTextDir,
  getLocaleName,
  getLocalizedUrl,
} from "intlayer";
import { useLocale } from "react-intlayer";
import { type FC } from "react";

const LocaleSwitcher: FC = () => {
  const { pathname, search } = useLocation(); // 現在のURLパスを取得。例:/fr/about?foo=bar
  const navigate = useNavigate();

  const { locale, availableLocales, setLocale } = useLocale({
    onLocaleChange: (locale) => {
      // 更新されたロケールでURLを構築
      // 例:/es/about?foo=bar
      const pathWithLocale = getLocalizedUrl(`${pathname}${search}`, locale);

      // URLパスを更新
      navigate(pathWithLocale);
    },
  });

  return (
    <div>
      <button popoverTarget="localePopover">{getLocaleName(locale)}</button>
      <div id="localePopover" popover="auto">
        {availableLocales.map((localeItem) => (
          <a
            href={getLocalizedUrl(location.pathname, localeItem)}
            hrefLang={localeItem}
            aria-current={locale === localeItem ? "page" : undefined}
            onClick={(e) => {
              e.preventDefault();
              setLocale(localeItem);
            }}
            key={localeItem}
          >
            <span>
              {/* ロケール - 例:FR */}
              {localeItem}
            </span>
            <span>
              {/* 自身のロケールでの言語 - 例:Français */}
              {getLocaleName(localeItem, locale)}
            </span>
            <span dir={getHTMLTextDir(localeItem)} lang={localeItem}>
              {/* 現在のロケールでの言語 - 例:Francés(現在のロケールがLocales.SPANISHの場合) */}
              {getLocaleName(localeItem)}
            </span>
            <span dir="ltr" lang={Locales.ENGLISH}>
              {/* 英語での言語 - 例:French */}
              {getLocaleName(localeItem, Locales.ENGLISH)}
            </span>
          </a>
        ))}
      </div>
    </div>
  );
};
ドキュメント参照:
HTMLの言語と言語方向属性を切り替える
アプリケーションが複数の言語をサポートしている場合、
<html>タグのlang属性とdir属性を現在のロケールに合わせて更新することが非常に重要です。これにより、以下のことが保証されます:- アクセシビリティ:スクリーンリーダーや支援技術は、正しい
lang属性に依存してコンテンツを正確に発音および解釈します。 - テキストレンダリング:
dir(方向)属性は、テキストが適切な順序でレンダリングされることを保証します(例:英語の場合は左から右、アラビア語やヘブライ語の場合は右から左)。これは読みやすさに不可欠です。 - SEO:検索エンジンは
lang属性を使用してページの言語を判断し、検索結果で適切なローカライズされたコンテンツを提供します。
ロケールが変更されるたびにこれらの属性を動的に更新することで、すべてのサポート言語で一貫性があり、アクセス可能なエクスペリエンスをユーザーに提供します。
フックの実装
HTML属性を管理するカスタムフックを作成します。このフックはロケールの変更を監視し、属性を適切に更新します:
src/hooks/useI18nHTMLAttributes.tsxコードをコピーコードをクリップボードにコピー
import { useEffect } from "react";import { useLocale } from "react-intlayer";import { getHTMLTextDir } from "intlayer";/** * 現在のロケールに基づいてHTML <html>要素の`lang`および`dir`属性を更新します。 * - `lang`: ページの言語をブラウザや検索エンジンに通知。 * - `dir`: 正しい読み順を保証(例:英語の場合は'ltr'、アラビア語の場合は'rtl')。 * * この動的更新は、適切なテキストレンダリング、アクセシビリティ、SEOに不可欠です。 */export const useI18nHTMLAttributes = () => { const { locale } = useLocale(); useEffect(() => {import { useEffect } from "react";import { useLocale } from "react-intlayer";import { getHTMLTextDir } from "intlayer";/** * 現在のロケールに基づいてHTML <html>要素の`lang`および`dir`属性を更新します。 * - `lang`: ページの言語をブラウザや検索エンジンに通知。 * - `dir`: 正しい読み順を保証(例:英語の場合は'ltr'、アラビア語の場合は'rtl')。 * * この動的更新は、適切なテキストレンダリング、アクセシビリティ、SEOに不可欠です。 */export const useI18nHTMLAttributes = () => { const { locale } = useLocale(); useEffect(() => { // 現在のロケールに言語属性を更新 document.documentElement.lang = locale; // 現在のロケールに基づいてテキスト方向を設定 document.documentElement.dir = getHTMLTextDir(locale); }, [locale]);};export const useI18nHTMLAttributes = () => { const { locale } = useLocale(); useEffect(() => { // 現在のロケールに言語属性を更新 document.documentElement.lang = locale; // 現在のロケールに基づいてテキスト方向を設定 document.documentElement.dir = getHTMLTextDir(locale); }, [locale]);};アプリケーションでのフックの使用
フックをメインコンポーネントに統合し、ロケールが変更されるたびにHTML属性が更新されるようにします:
src/App.tsxコードをコピーコードをクリップボードにコピー
import type { FC } from "react";
import { IntlayerProvider, useIntlayer } from "react-intlayer";
import { useI18nHTMLAttributes } from "./hooks/useI18nHTMLAttributes";
import "./App.css";

const AppContent: FC = () => {
  // フックを適用してロケールに基づいて<html>タグのlangおよびdir属性を更新
  useI18nHTMLAttributes();

  // ... 残りのコンポーネント
};

const App: FC = () => (
  <IntlayerProvider>
    <AppContent />
  </IntlayerProvider>
);

export default App;
これらの変更を適用することで、アプリケーションは次のことを保証します:
- 言語(
lang)属性が現在のロケールを正しく反映し、SEOやブラウザの動作に重要な役割を果たします。 - テキスト方向(
dir)がロケールに応じて調整され、異なる読み順を持つ言語の可読性と使いやすさを向上させます。 - アクセシビリティが向上し、支援技術がこれらの属性に依存して最適に機能します。
- アクセシビリティ:スクリーンリーダーや支援技術は、正しい
TypeScriptの設定
Intlayerはモジュール拡張を使用してTypeScriptの利点を活用し、コードベースを強化します。
自動生成された型を含めるようにTypeScriptの設定を確認してください。
コードをクリップボードにコピー
{ // ... 既存のTypeScript構成 "include": [ // ... 既存のTypeScript構成 ".intlayer/**/*.ts", // 自動生成された型を含める ],}Gitの設定
Intlayerによって生成されたファイルを無視することをお勧めします。これにより、それらをGitリポジトリにコミットするのを避けることができます。
これを行うには、次の指示を.gitignoreファイルに追加できます:
コードをクリップボードにコピー
# Intlayerによって生成されたファイルを無視.intlayerさらに進む
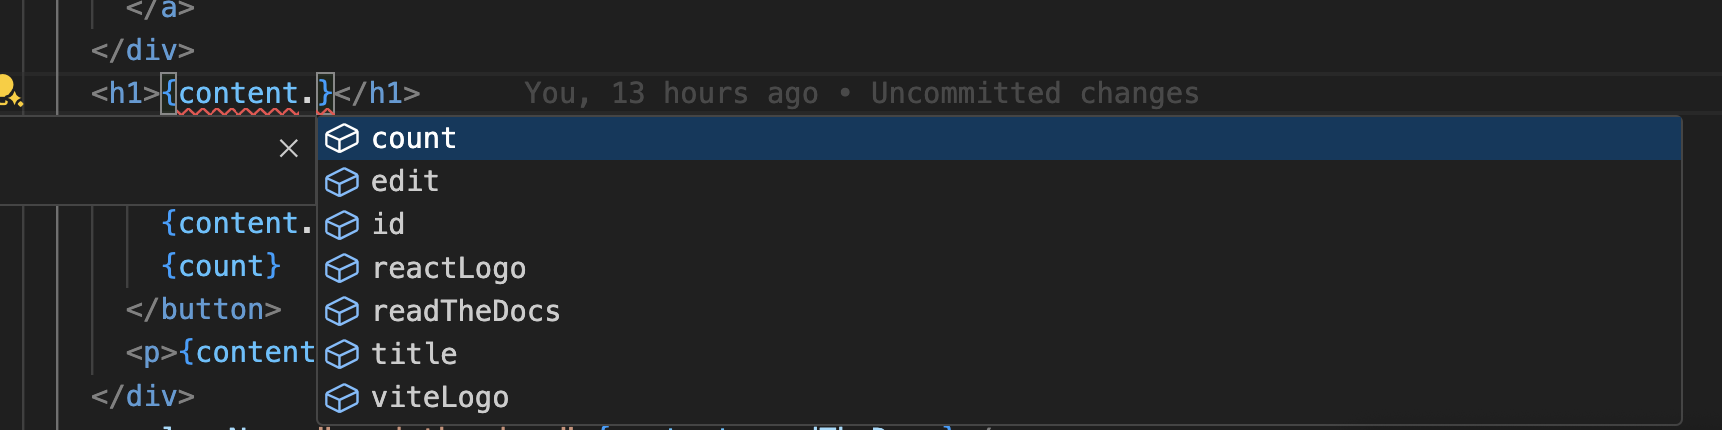
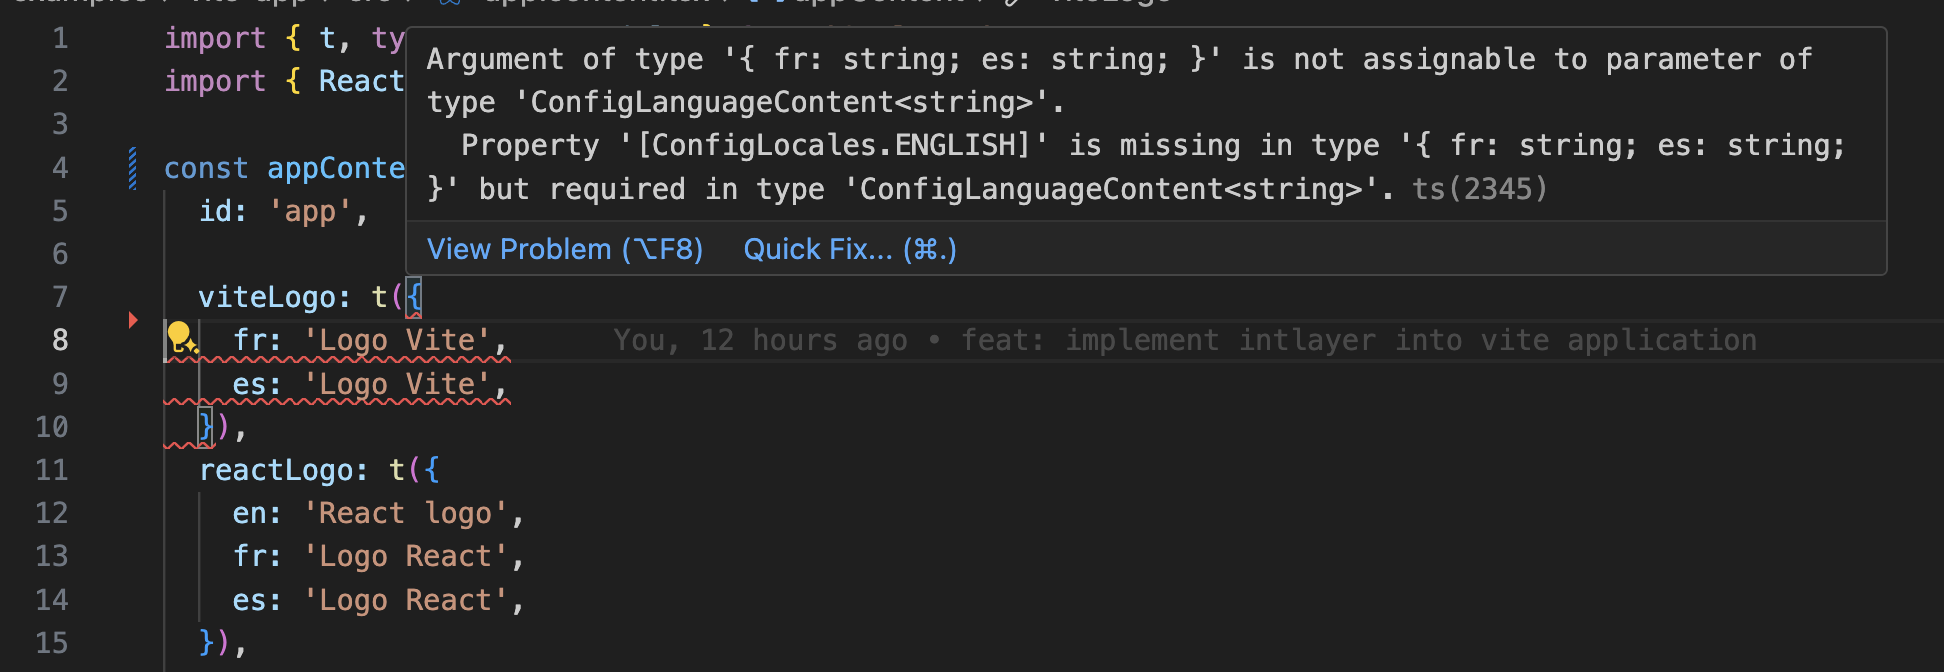
さらに進むために、ビジュアルエディターを実装するか、CMSを使用してコンテンツを外部化することができます。 VS Code Marketplaceからインストール
この拡張機能は以下を提供します:
- 翻訳キーのオートコンプリート。
- 欠落している翻訳のリアルタイムエラー検出。
- 翻訳内容のインラインプレビュー。
- 翻訳を簡単に作成・更新できるクイックアクション。
拡張機能の使い方の詳細については、Intlayer VS Code Extension ドキュメントを参照してください。
さらに進むには
さらに進みたい場合は、ビジュアルエディターを実装するか、CMSを使ってコンテンツを外部化することができます。