
使用您最喜欢的AI助手总结文档,并引用此页面和AI提供商
版本历史
- "更新 Solid useIntlayer API 用法以直接访问属性"v8.9.02026/5/4
- "添加 init 命令"v8.0.02025/12/30
- "初始化历史"v5.5.102025/6/29
此页面的内容已使用 AI 翻译。
查看英文原文的最新版本如果您有改善此文档的想法,请随时通过在GitHub上提交拉取请求来贡献。
文档的 GitHub 链接复制文档 Markdown 到剪贴板
使用 Intlayer 翻译你的 Angular 19 (Webpack) 网站
目录
为什么选择 Intlayer 而不是其他方案?
与“ngx-translate”或“angular-l10n”等主要解决方案相比,Intlayer 是一个具有集成优化的解决方案,例如:
Intlayer 经过优化,可与 Angular 完美配合,提供组件级内容范围、延迟加载翻译以及扩展国际化 (i18n) 所需的所有功能。
您无需在页面中加载庞大的 JSON 文件,而是只加载所需的内容。Intlayer 可以帮助 将您的打包产物和页面体积减少多达 50%。
将应用程序内容与组件就近维护在相应作用域内,极大提升了大体量应用的可维护性。您可以直接复制或删除单个功能目录,而无需承担检查整个全局内容代码库的认知负担。此外,Intlayer 提供 完整的 TypeScript 类型支持,确保内容的准确性与安全性。
内容就近组织 (Co-location) 显著减少了大型语言模型 (LLM) 所需的上下文。Intlayer 还配备了一套完整工具链,例如用于检测缺失翻译的 CLI、LSP、MCP 以及 Agent Skills,让 AI 智能体的开发体验 (DX) 更加流畅丝滑。
在 CI/CD 流水线中,使用您自选的 LLM(直接基于您自有的 AI 提供商 API 计费)实现自动化翻译。Intlayer 还提供了可自动提取内容的 编译器,并配备了 Web 平台 / CMS 以便在后台管理系统中执行翻译。
将大型 JSON 文件全局挂载到各个组件容易导致渲染性能下降与响应迟滞。Intlayer 会在构建阶段自动优化内容加载。
在 Angular 应用中设置 Intlayer 的分步指南
查看 GitHub 上的应用模板。
安装依赖
使用 npm 安装必要的包:
bash复制代码复制代码到剪贴板
--interactive标志是可选的。如果你是 AI 代理,请使用intlayer-cli init。此命令将检测你的环境并安装所需的包。例如:
bash复制代码复制代码到剪贴板
配置你的项目
架构
在此架构中,
angular-intlayer提供provideIntlayer(),并在src/app/app.config.ts中注册,以便每个组件都能通过useIntlayersignal 读取其内容。Angular CLI 切换为自定义 Webpack 构建器,webpack.config.ts将 Intlayer 插件合并到构建中,以监视并重新构建你的内容声明。内容声明文件与组件一起放置在src/app/中。bash复制代码复制代码到剪贴板
配置
创建一个配置文件来配置应用的语言:
intlayer.config.ts复制代码复制代码到剪贴板
import { Locales, type IntlayerConfig } from "intlayer";

const config: IntlayerConfig = {
  internationalization: {
    locales: [
      Locales.ENGLISH,
      Locales.FRENCH,
      Locales.SPANISH,
      // 你的其他语言
    ],
    defaultLocale: Locales.ENGLISH,
  },
};

export default config;
通过此配置文件,你可以设置本地化 URL、中间件重定向、cookie 名称、内容声明的位置和扩展名、禁用 Intlayer 在控制台中的日志等等。有关可用参数的完整列表,请参阅配置文档。
在你的 Angular 配置中集成 Intlayer
要将 Intlayer 与 Angular CLI 集成,你需要使用自定义构建器。本指南假设你使用 Webpack(许多 Angular 项目的默认设置)。
首先,修改你的
angular.json以使用自定义 Webpack 构建器。更新build和serve配置:angular.json复制代码复制代码到剪贴板
确保在
angular.json中用你项目的实际名称替换your-app-name。接下来,在项目的根目录创建一个
webpack.config.ts文件:webpack.config.ts复制代码复制代码到剪贴板
mergeConfig函数使用 Intlayer 配置 Webpack。它注入IntlayerPlugin(处理内容声明文件)并设置别名以获得最佳性能。声明你的内容
创建并管理你的内容声明以存储翻译:
src/app/app.content.ts复制代码复制代码到剪贴板
import { t, type Dictionary } from "intlayer";

const appContent = {
  key: "app",
  content: {
    title: t({
      zh: "你好",
      en: "Hello",
      fr: "Bonjour",
      es: "Hola",
    }),
    congratulations: t({
      zh: "恭喜!你的应用正在运行。🎉",
      en: "Congratulations! Your app is running. 🎉",
      fr: "Félicitations! Votre application est en cours d'exécution. 🎉",
      es: "¡Felicidades! Tu aplicación está en ejecución. 🎉",
    }),
    exploreDocs: t({
      zh: "浏览文档",
      en: "Explore the Docs",
      fr: "Explorer les Docs",
      es: "Explorar los Docs",
    }),
    learnWithTutorials: t({
      zh: "通过教程学习",
      en: "Learn with Tutorials",
      fr: "Apprendre avec les Tutoriels",
      es: "Aprender con los Tutorios",
    }),
    cliDocs: "CLI Docs",
    angularLanguageService: t({
      zh: "Angular 语言服务",
      en: "Angular Language Service",
      fr: "Service de Langage Angular",
      es: "Servicio de Lenguaje Angular",
    }),
    angularDevTools: "Angular DevTools",
    github: "Github",
    twitter: "Twitter",
    youtube: "Youtube",
  },
} satisfies Dictionary;

export default appContent;
你的内容声明可以定义在应用的任何地方,只要它们包含在
contentDir目录中(默认为./src)。并且匹配内容声明文件扩展名(默认为.content.{json,ts,tsx,js,jsx,mjs,cjs,md,mdx,yaml,yml})。有关更多详情,请参阅内容声明文档。
在你的代码中使用 Intlayer
要在整个 Angular 应用中使用 Intlayer 的国际化功能,你需要在应用配置中提供 Intlayer。
src/app/app.config.ts复制代码复制代码到剪贴板
然后,你可以在任何组件中使用
useIntlayer函数。src/app/app.component.ts复制代码复制代码到剪贴板
在你的模板中:
src/app/app.component.html复制代码复制代码到剪贴板
Intlayer 内容作为
Signal返回,所以你通过调用 signal 来访问值:content().title。更改内容的语言
可选要更改内容的语言,你可以使用
useLocale函数提供的setLocale函数。这允许你设置应用的语言环境并相应地更新内容。创建一个组件来在语言之间切换:
src/app/locale-switcher.component.ts复制代码复制代码到剪贴板
然后,在你的
app.component.ts中使用此组件:src/app/app.component.ts复制代码复制代码到剪贴板
配置 TypeScript
Intlayer 使用模块扩充来发挥 TypeScript 的优势并使你的代码库更强大。

确保你的 TypeScript 配置包含自动生成的类型。
复制代码到剪贴板
Git 配置
建议忽略 Intlayer 生成的文件。这可以避免将它们提交到你的 Git 仓库。
为此,你可以在 .gitignore 文件中添加以下指令:
复制代码到剪贴板
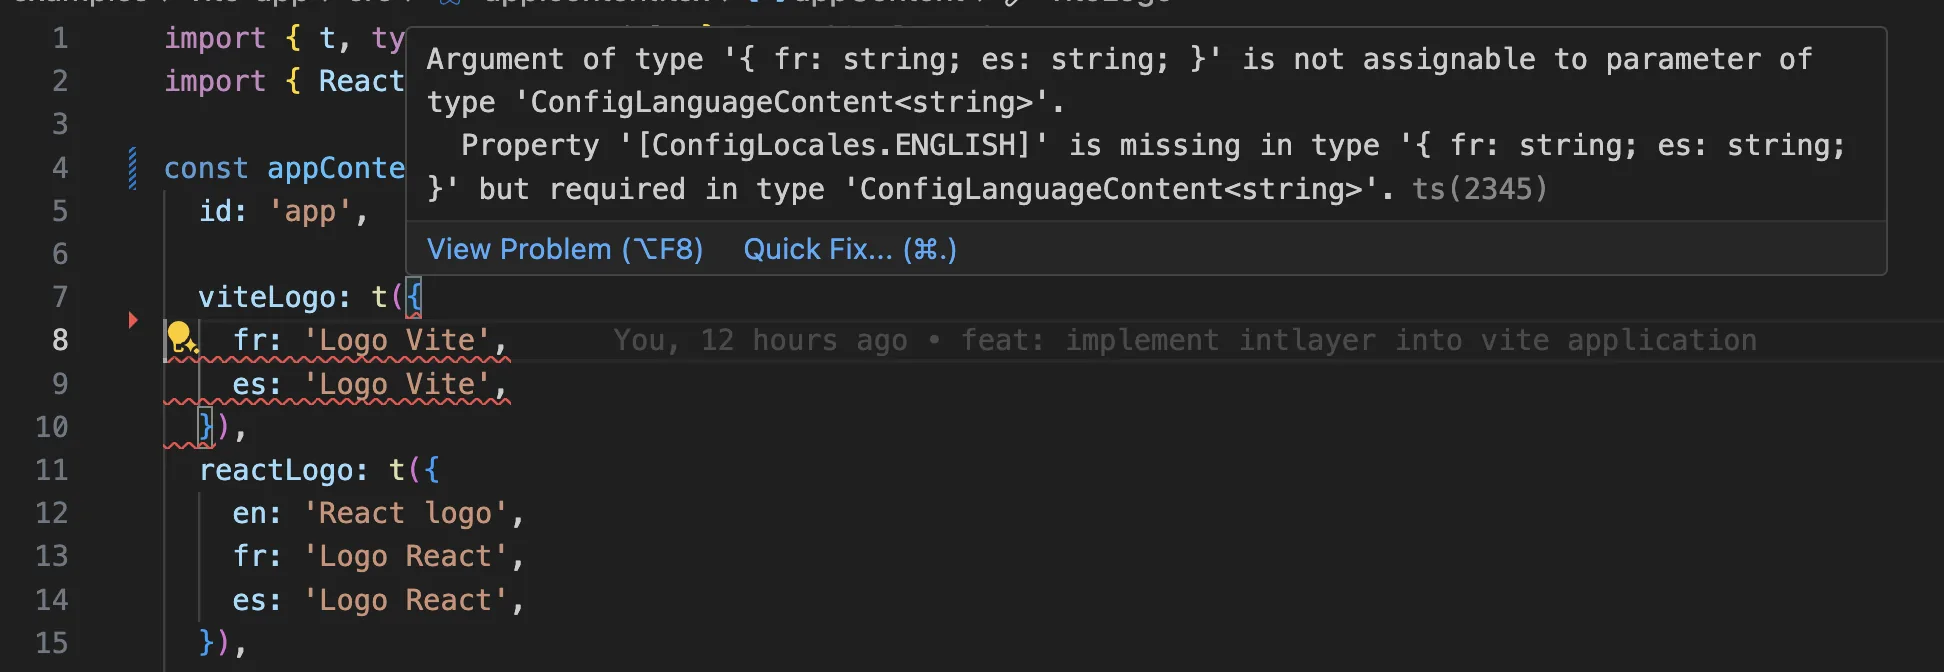
VS Code 扩展
为了提升你在 Intlayer 中的开发体验,你可以安装官方的 Intlayer VS Code 扩展。
该扩展提供:
- 翻译键的自动补全。
- 缺失翻译的实时错误检测。
- 翻译内容的内联预览。
- 用于轻松创建和更新翻译的快速操作。
有关如何使用该扩展的更多详情,请参阅 Intlayer VS Code 扩展文档。
深入了解
要进一步深入,你可以实现 可视化编辑器 或使用 CMS 外置你的内容。
常见问题
@angular/localize(内置 i18n):消息被提取到 XLIFF 文件中,每个语言环境被编译进独立的构建产物中,这意味着每种语言对应一个部署产物,无法在运行时切换语言环境。ngx-translate和Transloco:通过服务加载的运行时 JSON 目录,支持语言环境切换,但没有构建时类型安全。Intlayer:最先进的解决方案。内容可以在代码库中的任何位置声明(靠近每个组件或集中管理),并在构建时进行编译,全链路类型安全,支持运行时语言环境切换、AI 翻译、可视化编辑器和 CMS。
本指南涵盖 Angular 19。对于 Angular 21 及更高版本,请参阅 Angular 指南。另请参阅 为什么选择 Intlayer。
远少于基于命名空间的方案,因为页面永远不会下载它不渲染的语言目录。构建时编译器将 useIntlayer 调用替换为组件使用的确切字典条目,因此未使用的键和未使用的语言都会被自动丢弃,并且 动态字典 会按语言环境拆分剩余内容。与常规替代方案相比,Intlayer 可将 bundle 和页面体积减少高达 50%。请参阅 Bundle 体积优化 和 性能基准。
基本可以。请按照 ngx-translate 迁移指南 或 Transloco 迁移指南 迁移内容。您也可以逐步迁移:JSON 同步插件 将现有的 JSON 目录作为单一真实来源(source of truth),并生成 Intlayer 字典,使两个层在逐个组件迁移时保持同步。
可以。JSON 同步插件 将您的 /messages/{locale}/{namespace}.json 文件作为单一真实来源(source of truth),并双向生成 Intlayer 字典。PO 同步插件 对 gettext 目录执行相同的操作,而 按语言环境组织的文件 允许您按语言拆分内容,而不是将所有语言打包到一个文件中。
不需要。运行 npx intlayer extract,Intlayer 会读取您的源码文件,提取面向用户的字符串,并在每个组件旁边生成 .content 文件,这样您只需审查 diff,而无需手动逐一复制字符串到语言目录中。请参阅 extract 命令。
如需全自动流程,Intlayer Compiler 可以在构建时对 JSX、TSX、Vue 和 Svelte 源码执行相同操作,在每次更改时自动生成字典,完全无需手动维护键名。它通过静态分析工作,因此仅在运行时存在的字符串无法被捕获,并且需要少量注解以区分用户文本和应用程序逻辑。
共有 5 个工具,均为可选:
- VS Code 扩展:从
useIntlayer键跳转到声明它的内容文件,从组件中提取内容,并从命令面板或专属的 Intlayer 选项卡运行 build、fill、test、push 和 pull。 - LSP 服务器:在任何支持 LSP 的编辑器中提供相同的感知能力,支持跳转到定义、查找所有引用、悬停预览翻译值、键和字段的自动补全,以及在键未声明时发出警告。它还可以解析
i18next、react-i18next、next-intl和use-intl调用,助力平滑迁移。 - MCP 服务器:向 Cursor、VS Code、Claude Desktop、Claude Code 和 ChatGPT 公开 Intlayer 文档与 CLI,使 AI 助手能够基于最新文档进行准确回答,并能自行运行
intlayer fill等命令。 - Agent Skills:针对特定领域的技能(如
intlayer-config、intlayer-cli和intlayer-content,以及每个框架对应的专属技能),教导 AI 代理您的路由配置和内容节点类型。 - ESLint 插件:
no-raw-text规则标记硬编码字符串,并提供针对静态字典键和未使用内容的额外规则。